M25-XP Heat Exchanger Service
As the boat has been out of action for a couple of weeks while I installed the new Victron Electrical Power Management System (Here's a link) I decided now was a good time to replace the engine's Heat Exchanger Zinc.
On our Mk1 Catalina 34, I can reach the heat exchanger by just leaning over the top of the engine as long as I don't mind scratching up my arms in the process. The Zinc is located on the underside of the exchanger near the Port side end of it.
Having replaced the zinc previously by accessing the back of the engine from underneath the Aft Cabin floor, which involves some serious Boat Yoga, and, as we use the aft cabin for storage - lots of storage, the option to change the zinc out from leaning over the engine is really appreciated.
I use a Puppy Pad to cover the engine, then reach down the port side with a wrench to unscrew the zinc, pretty easy, especially as I'm a skinny guy.

However, putting in the new zinc was not so easy, it just felt like I was cross threading the zinc. So I made the decision to pull the heat exchanger out and do a service while checking why the new Zinc would not fit.
To remove the heat exchanger on the M25-XP there are 4 hoses and two large hose clamps that are used to secure the exchanger to the mounting plate attached to the back of the engine. I had replaced the hoses a couple of years ago, so they came off pretty easy. The two clamps holding the exchanger in place were easy to release and in less than 15 minutes I got the whole thing out. I did put a bung in the port side coolant pipe when I removed that to prevent the coolant just emptying into the bilge. Successfully, I kept the loss of coolant to a couple of cups and I mopped that up with paper towels.

My initial thought was that there might be a couple of leaks around the nipples of the heat exchanger, the green patches are at least surface corrosion.
Decision made, take it home and clean it up, detailed inspection and do what is needed to get the Zinc installed.
At home in my garage, I could see that the thread on the nipple which hoses the zinc was pretty crudded up. Using a Battery Wire Brush to clean out the nipple was not very effective. Time for some Barnacle Buster.
It was easy to remove the end caps and the rubber seals looked in good condition ( thankfully, but they are available on Catalina Direct - it just delays the project while they are shipped )
Inspecting the inner tubing, I could see that it was about 20% occluded ( my wife was a nurse for 40 years) and 20% is not so bad, but they needed cleaning.
I made up a mixture of 4 parts water to 1 part Barnacle Buster, about 2 gallons all told, put that into a narrow bucket and let the heat exchanger soak for about an hour. The grot that came out was amazing, the mixture was a dark brown after removing the exchanger. I rinsed it thoroughly then wire brushed anywhere that looked like it needed repainting.
All of the corrosion came off and the braised joints all looked pristine. The Zinc nipple thread was now spotless and I was able to screw in the zinc a total of 4 turns. I'm sure the thread is tapered. But it looks good.

After a good cleaning with fresh water and a thorough wipe down with Acetone, I gave it a couple of coats of spray primer (for high heat applications) and let it dry overnight.
Looks pretty good, ready for the 1st coat of top paint.
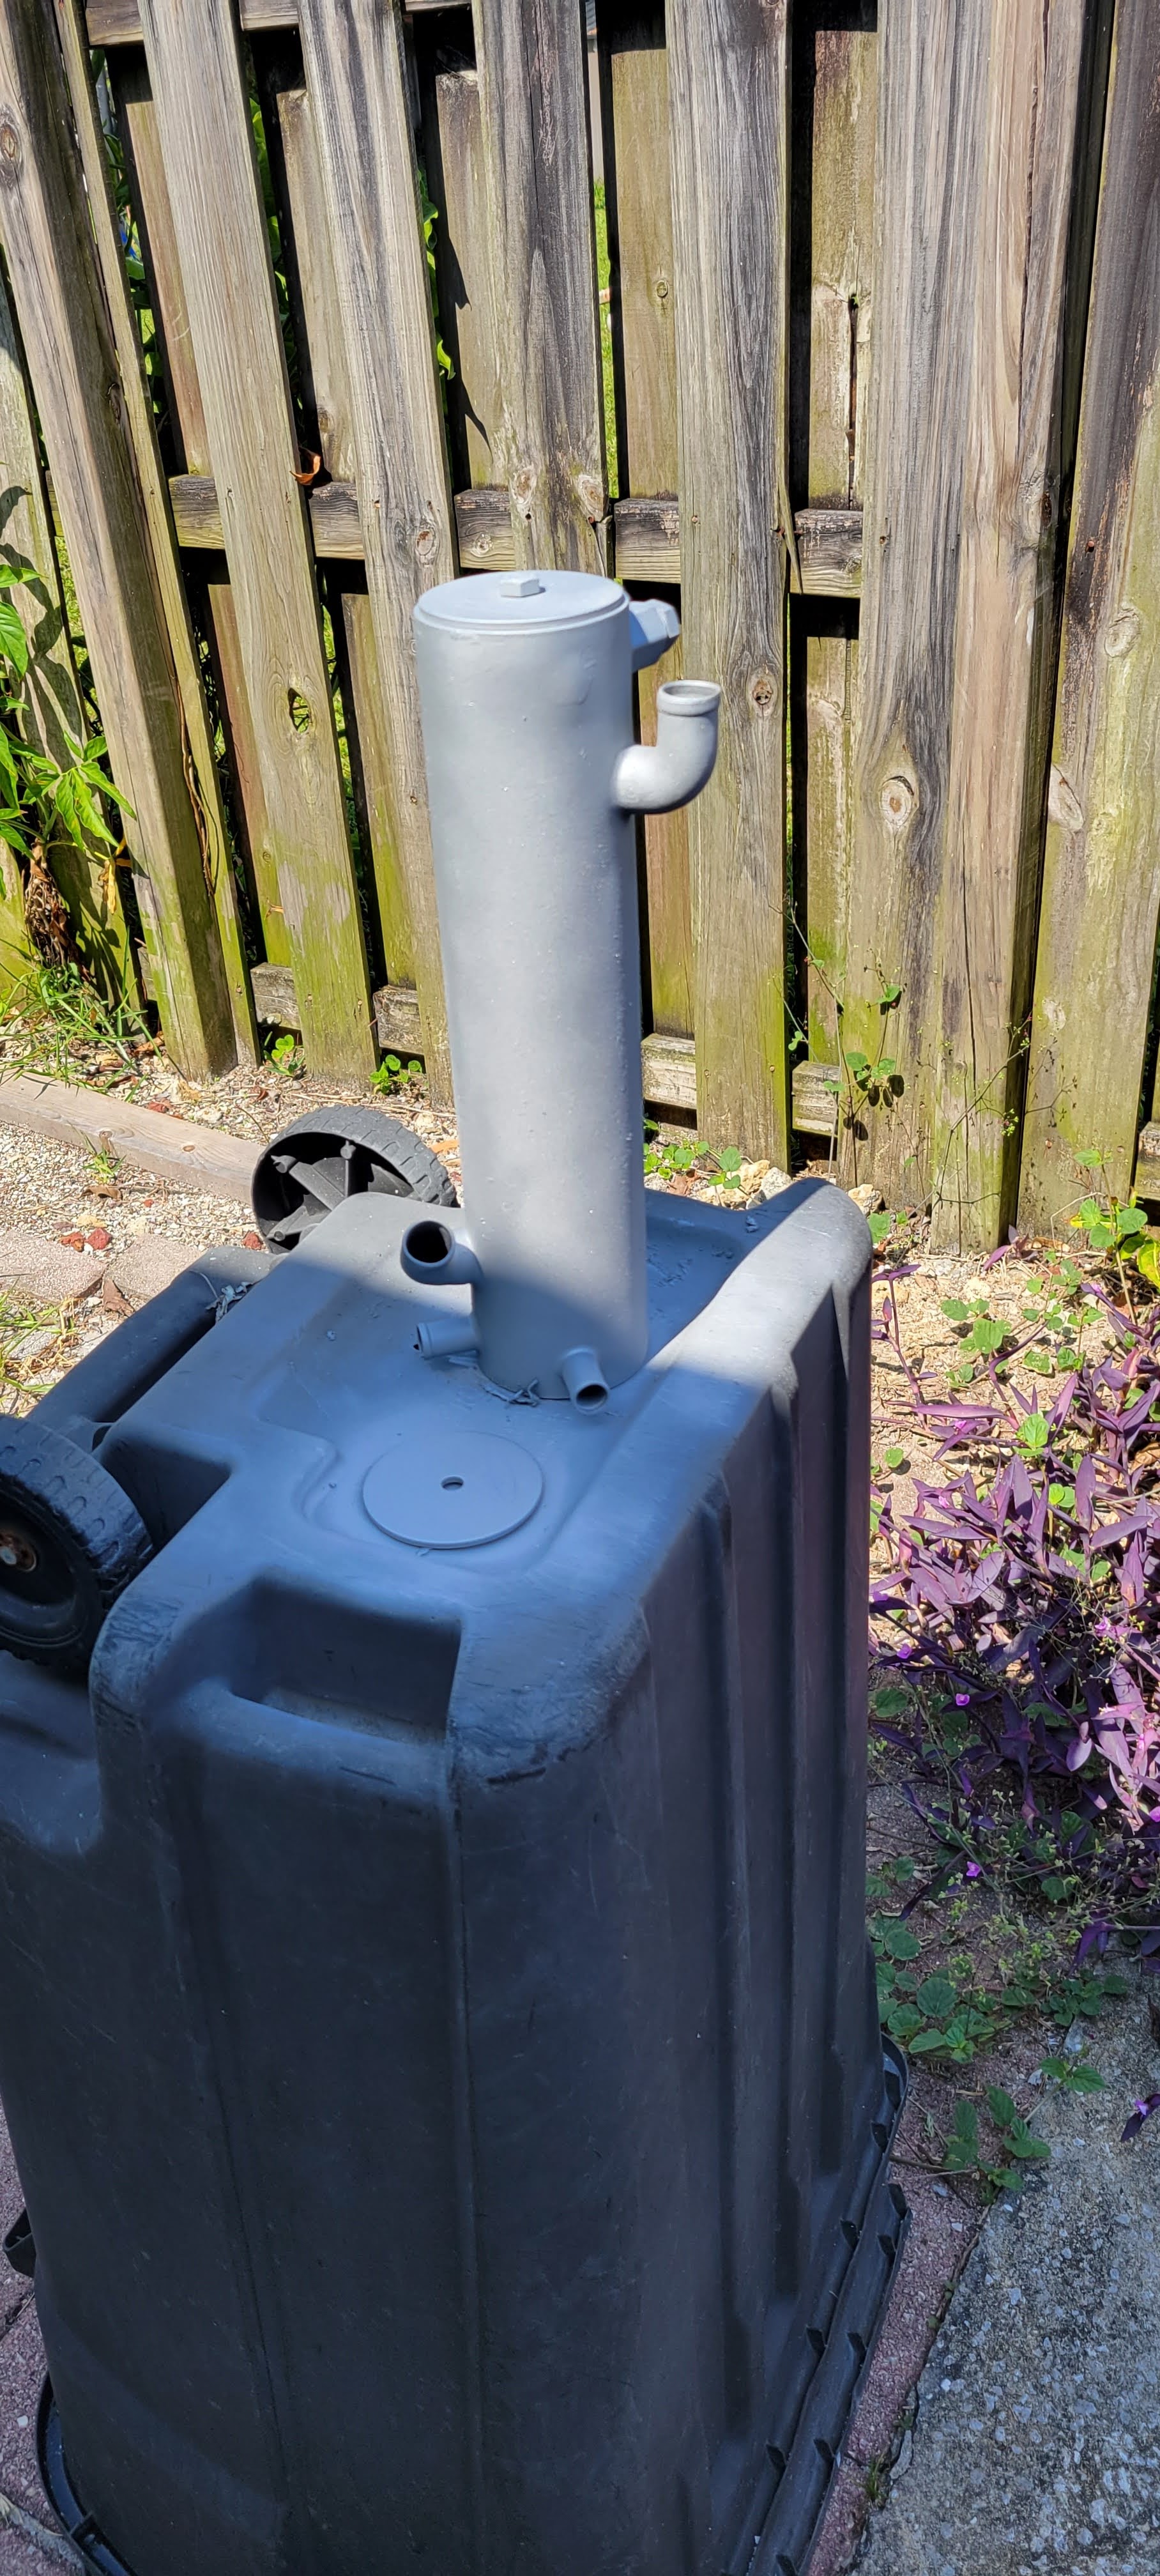
1st coat of top coat. It's about the same color as the original, needs about 30mins between coats.
Almost a shame that when installed, it will not be visible.
Plan is to apply the 2nd top coat this morning and put it all together. Tomorrow, we'll both go down to the boat and reinstall it.
After connecting the coolant hoses, we need to 'Burp' the system to eradicate any air in the system. The method is to top up the coolant reservoir and close the cap, then open the Pet Valve on top of the Thermostat housing, run the engine at above idle until air stops coming out of the Pet valve. Close it up and re-top off the coolant tank.
That's the plan! here's hoping there's no leaks, especially from the Zinc Nipple.
With luck, we'll see you on the water.
No comments:
Post a Comment
Got questions or suggestions about our boat, our sailing or our adventures?
Leave a comment.
Thanks.